
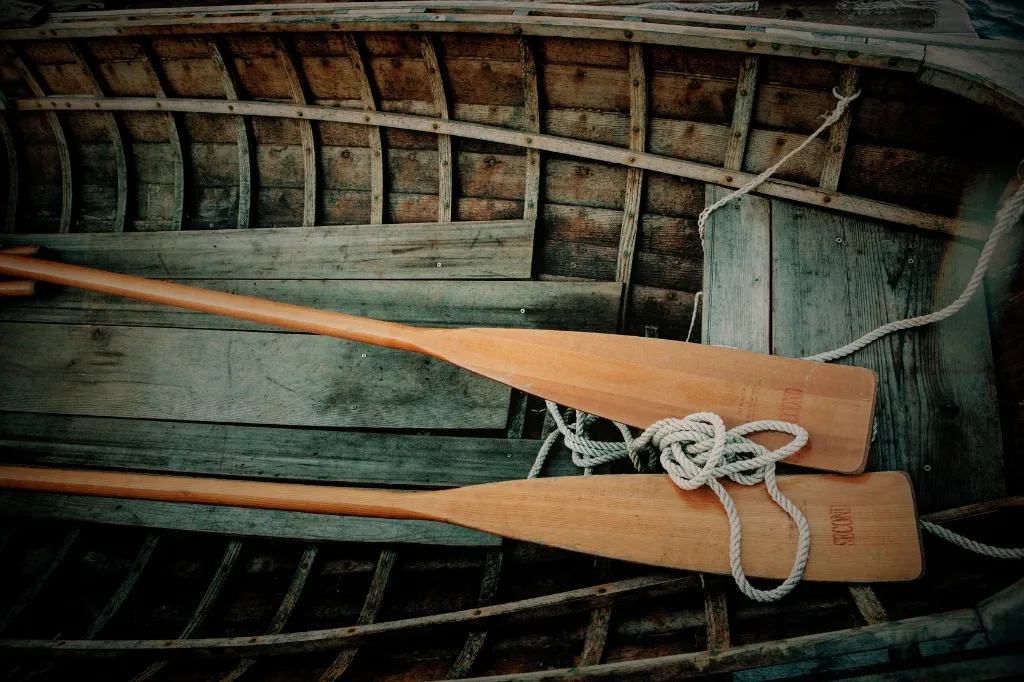
Restoring old wooden oars can be a profitable project, preserving a bit of maritime records and enhancing the attraction of your canoe or boat. Whether you’ve inherited fixed old oars or observed a pair at a flea marketplace, getting to know how to repair them can carry new lifestyles and functionality to these traditional tools.
In this guide, we’ll walk you through the step-by-step system of how to restore old wooden oars, using fine practices and hints to ensure a successful outcome.
Table of Contents
Understanding the Importance of Restoration
Restoring wooden boats isn’t pretty much aesthetics; it’s additionally about preserving their functionality and structural integrity. Old timber oars may additionally have visible years of use and publicity to the factors, mainly to troubles like rot, splinters, and paint degradation. Proper recuperation can save you additional harm, enhance their usability, and maintain their historical price.
Tools and Materials needed for restoring old wooden oars

Before diving into the recovery procedure, gather the following tools and substances:
- Sandpaper (numerous grits)
- Wood filler or epoxy resin
- Wood primer and paint
- Paintbrushes or rollers
- Wood sealant or varnish
- Cleaning dealers (slight cleaning soap, water)
- Safety gear (gloves, masks)
Step-by-step guide on how to restore old wooden Oars
1. Cleaning and Inspection
- Cleaning the Oars
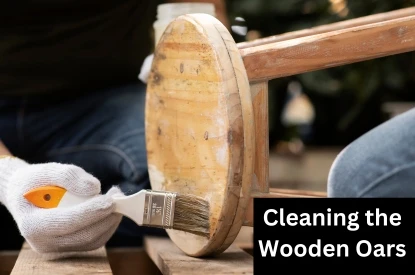
Start by very well cleansing the oars to cast off any dust, dust, or old paint. Use a smooth material or sponge with an answer of water and mild cleansing cleaning soap. Steer clear of wetting the wood considering too much moisture may additionally motivate it to swell and deform.
- Inspecting for Damage
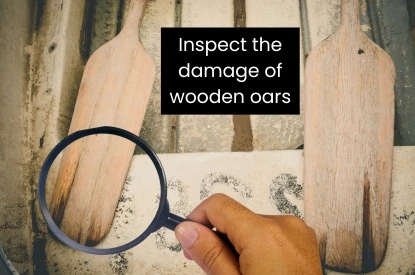
Once easy, look into the oars for any harm which includes cracks, splits, or rot. Pay close attention to the blade and take care of areas. Identifying these issues early will assist decide the vital maintenance and treatment.
2. Repairing the Structural Harm
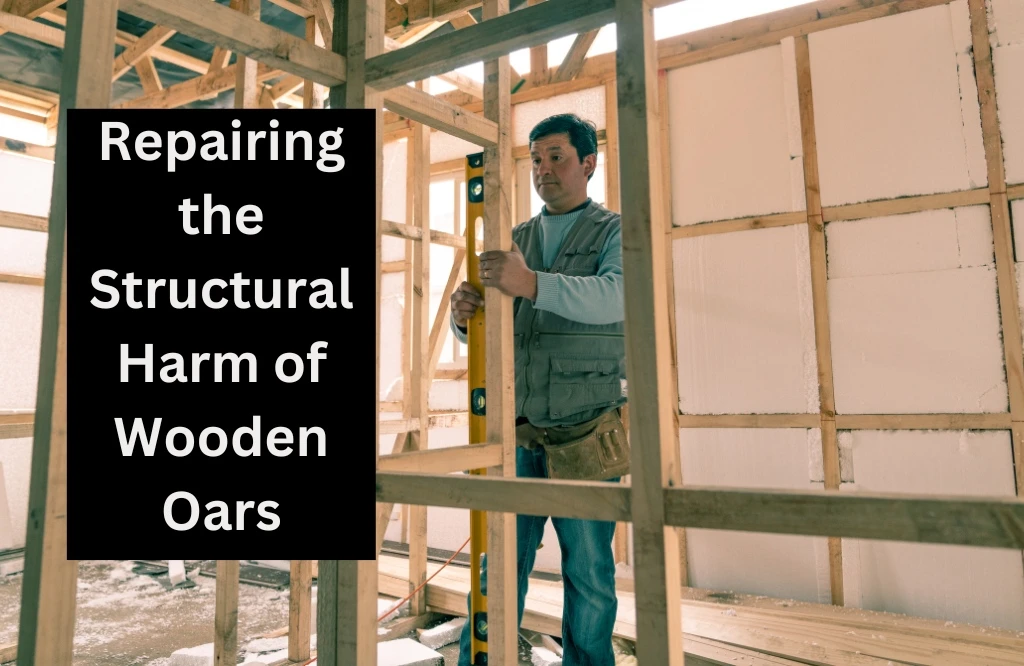
- Filling Cracks and Holes
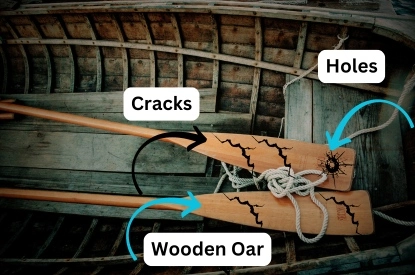
To patch up any holes, splits, or cracks, use epoxy glue or wooden filler. Apply a vast amount of filler, then ease it out with a putty knife. Allow it to dry absolutely in keeping with the producer’s instructions earlier than proceeding.
- Sanding the Surface
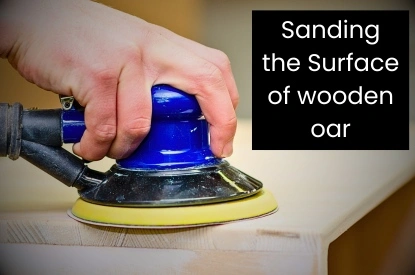
After the filler has dried, sand the oars to create a clean floor. Start with coarse-grit sandpaper and progressively circulate to finer grits. Sanding will cast off any hard spots and help the primer and paint adhere better.
3. Preparing for Painting
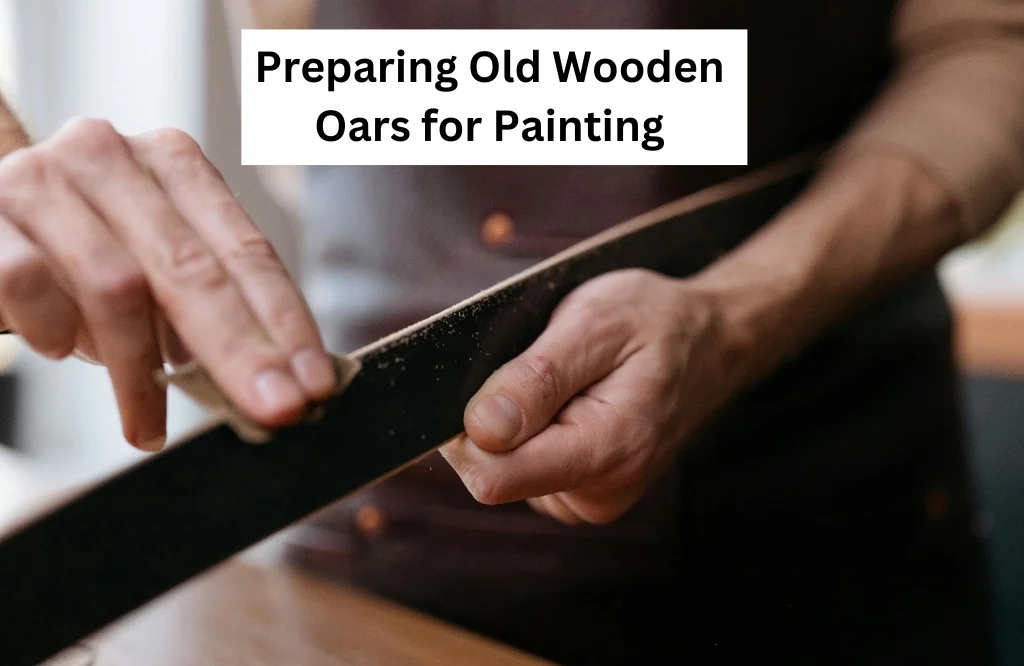
- Priming the Oars
Apply a wooden primer to seal the wood and provide a very good base for painting. Choose a primer suitable for wood and comply with the utility instructions. Priming allows to prevent the paint from peeling and improves its sturdiness.
- Sanding Between Coats
Once the primer is dry, lightly sand the floor to dispose of any imperfections. This step guarantees a clean end whilst making use of the paint.
4. Painting and Finishing
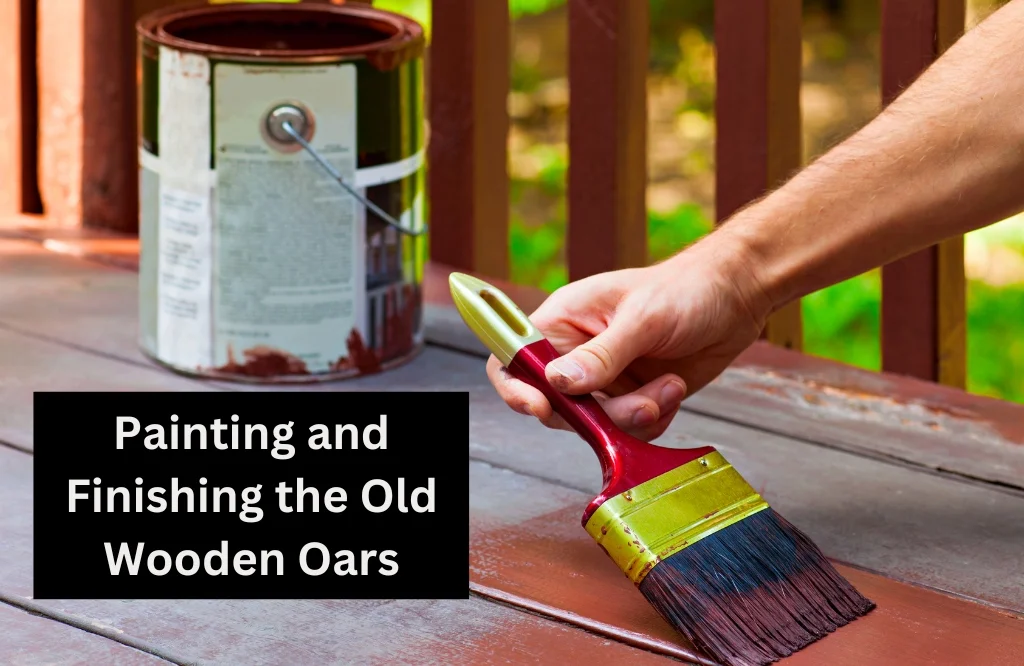
- Applying Paint
Choose a tremendous outdoor paint for wooden surfaces. Apply the paint in skinny, even coats using a brush or roller. Allow every coat to dry absolutely before making use of the following. Two to three coats are typically enough for a long-lasting finish.
- Sealing the Oars
After the paint has dried, follow a wood sealant or varnish to shield the oars from moisture and UV harm. This very last coat adds a shielding layer and enhances the timber’s look.
Maintenance Tips: How to restore old wooden Oars
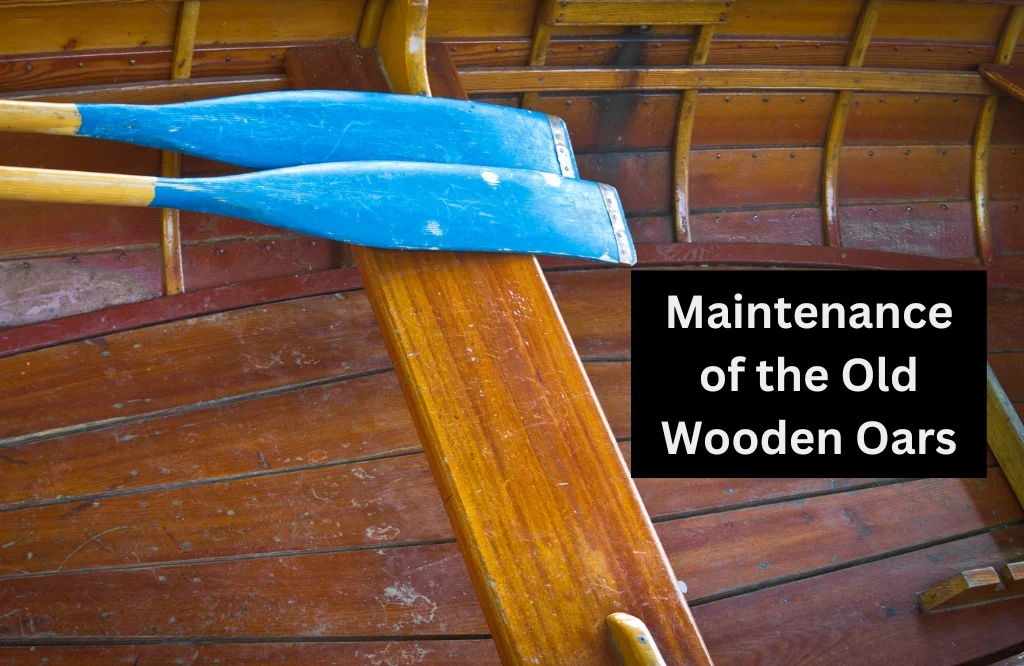
1. Regular Cleaning
To hold the advent and longevity of your restored oars, clean them regularly with a slight cleaning soap answer and a soft fabric. Avoid the usage of harsh chemical substances which could damage the end.
2. Inspect and Repair
Periodically investigate the oars for any symptoms of harm or wear. Address any troubles right away to save you from similar deterioration.
3. Proper Storage
Your oars need to be stored out of direct daylight in a cool, dry place. Proper storage saves you from warping and cracking.
Conclusion
Restoring old wooden oars is an enjoyable assignment that may breathe new lifestyles into loved maritime equipment. Now you are able to get the answer to “How to restore old wooden oars.” By following these steps—cleaning, repairing, priming, portraying, and sealing—you could make certain that your oars are each useful and aesthetically pleasing.